Field Setup
Safety Cordon
The most important step of setting up the field is to establish the safety cordon.
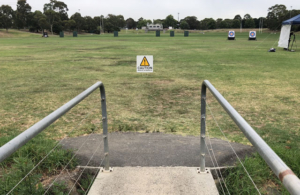
 Upon arriving at the club and signing in, members should retrieve the two Archery Warning signs and place them at the near end of the ground at the two positions indicated.

- Proceed on to the Storage Container where the Safety Cordon equipment is stored.
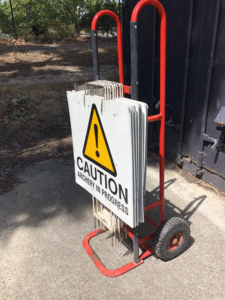
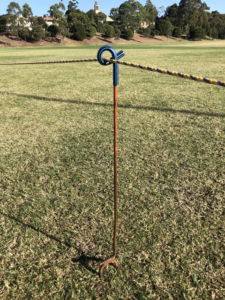
- There are two trolleys required for the safety cordon, and a rope wound onto a re-purposed electric fencing reel for the cordon itself. One trolley holds the posts that support the rope. The other is a rack holding 8 Archery Warning signs. The reel may be hung on the posts trolley for transport.


- Proceed to the Safety Cordon Start point, the Rugby goal posts closest to the storage containers. Tie the rope to the post.
- Following the path indicated on the map below, run the cordon around the ground.
- Place three posts on the way to the rugby goal posts on the second field.
- Place a post next to the goal post to act as a corner, then place two posts as you cross the ground to the opposite post.
- Place another corner post next to that goal, and place three more posts as you head back towards the rugby goals on the archery field.
- When you arrive at the goal post, tighten the rope then hang the reel on the trolley.


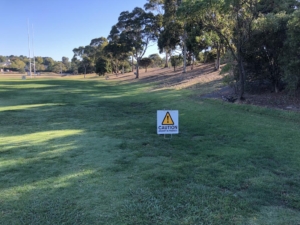
- Place warning signs at the locations indicated. 6 of the signs are placed alongside the rope. The remaining two are placed at advance locations further out from the cordon.

Target Setup
Once the safety cordon has been established (or while it is being established if you have enough hands on deck), targets can be retrieved from the storage container, and wheeled out to their desired locations on the target lines. Aim to have three people to a target, with an absolute maximum of four to a target. If a fifth archer arrives wanting to shoot the same distance, they will need to retrieve another target. Archers should then re-allocate themselves with three on the original target and two on the new target.
When all archers on a target have completed their shooting and the target is no longer needed, they should store it back in the Storage Container. The exception to this is if a Beginners Course is scheduled for that day, indicated on the Club Calendar. In this case please confirm whether the target is needed for the course with the Beginners Coordinator or any of the other club Instructors. Any members not physically capable of moving the target up the hill into storage should at least leave their target at the bottom of the ramp to make field teardown easier for the remaining members.
Field Teardown
When the last keyholder needs to leave, the field needs to be torn down. All remaining members should assist with tearing the field down by storing any remaining targets back into the container, and assisting with the removal of the safety cordon.
Safety Cordon
- Start by untying the rope at the start point.
- Proceed to the end point and unhook the reel from the trolley. Commence winding of the rope. Ideally, walk towards the rope rather than reeling the rope in towards you as this reduces the amount of stress on the winding mechanism and prolongs its lifespan.
- Be sure to feed the rope evenly across the width of the reel as it will quickly jam if all of the rope is piled onto a single point.
- If there are additional members available, they should collect the signs and the posts.
- Once winding has finished the reel can be re attached to the trolley for transport.
- Both trolleys should be wheeled back into the storage container.
- Confirm that there are a total of 8 signs on the warning signs trolley. If any are missing, make sure that both the advance warning signs have been collected, and that none of the signs have been missed due to being blown over by the wind.
- Confirm that there are a total of 10 rope posts.
- After securing the storage container, members should collect the two remaining signs from the near end of the field and store them inside the door of the clubhouse.